Configuring Wix Permissions for Neuro Integration
This guide provides step-by-step instructions for configuring permissions in Wix to enable seamless integration with Neuro. Proper configuration ensures that Neuro can access and manage store data effectively.
Last updated 8 months ago

Setting Up Permissions
Follow these steps to configure permissions for Neuro:
Navigate to the Wix Studio Custom Apps page: Wix Custom Apps Dashboard
Locate your app, click the three-dot menu (⋮), and select Go to App Dashboard.
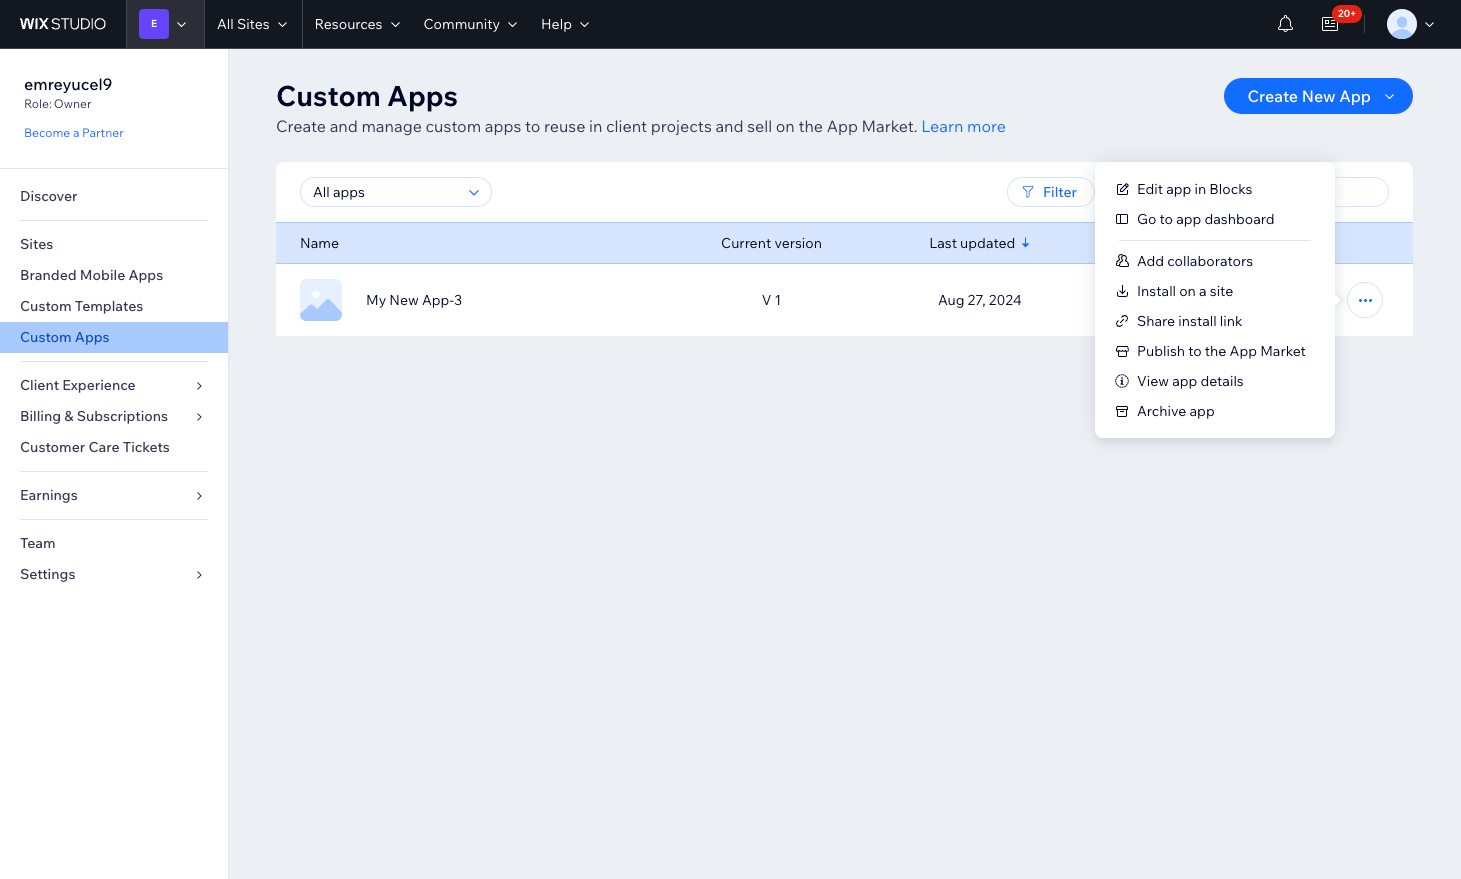
Click the image to maximise.
In the side menu, click Permissions.
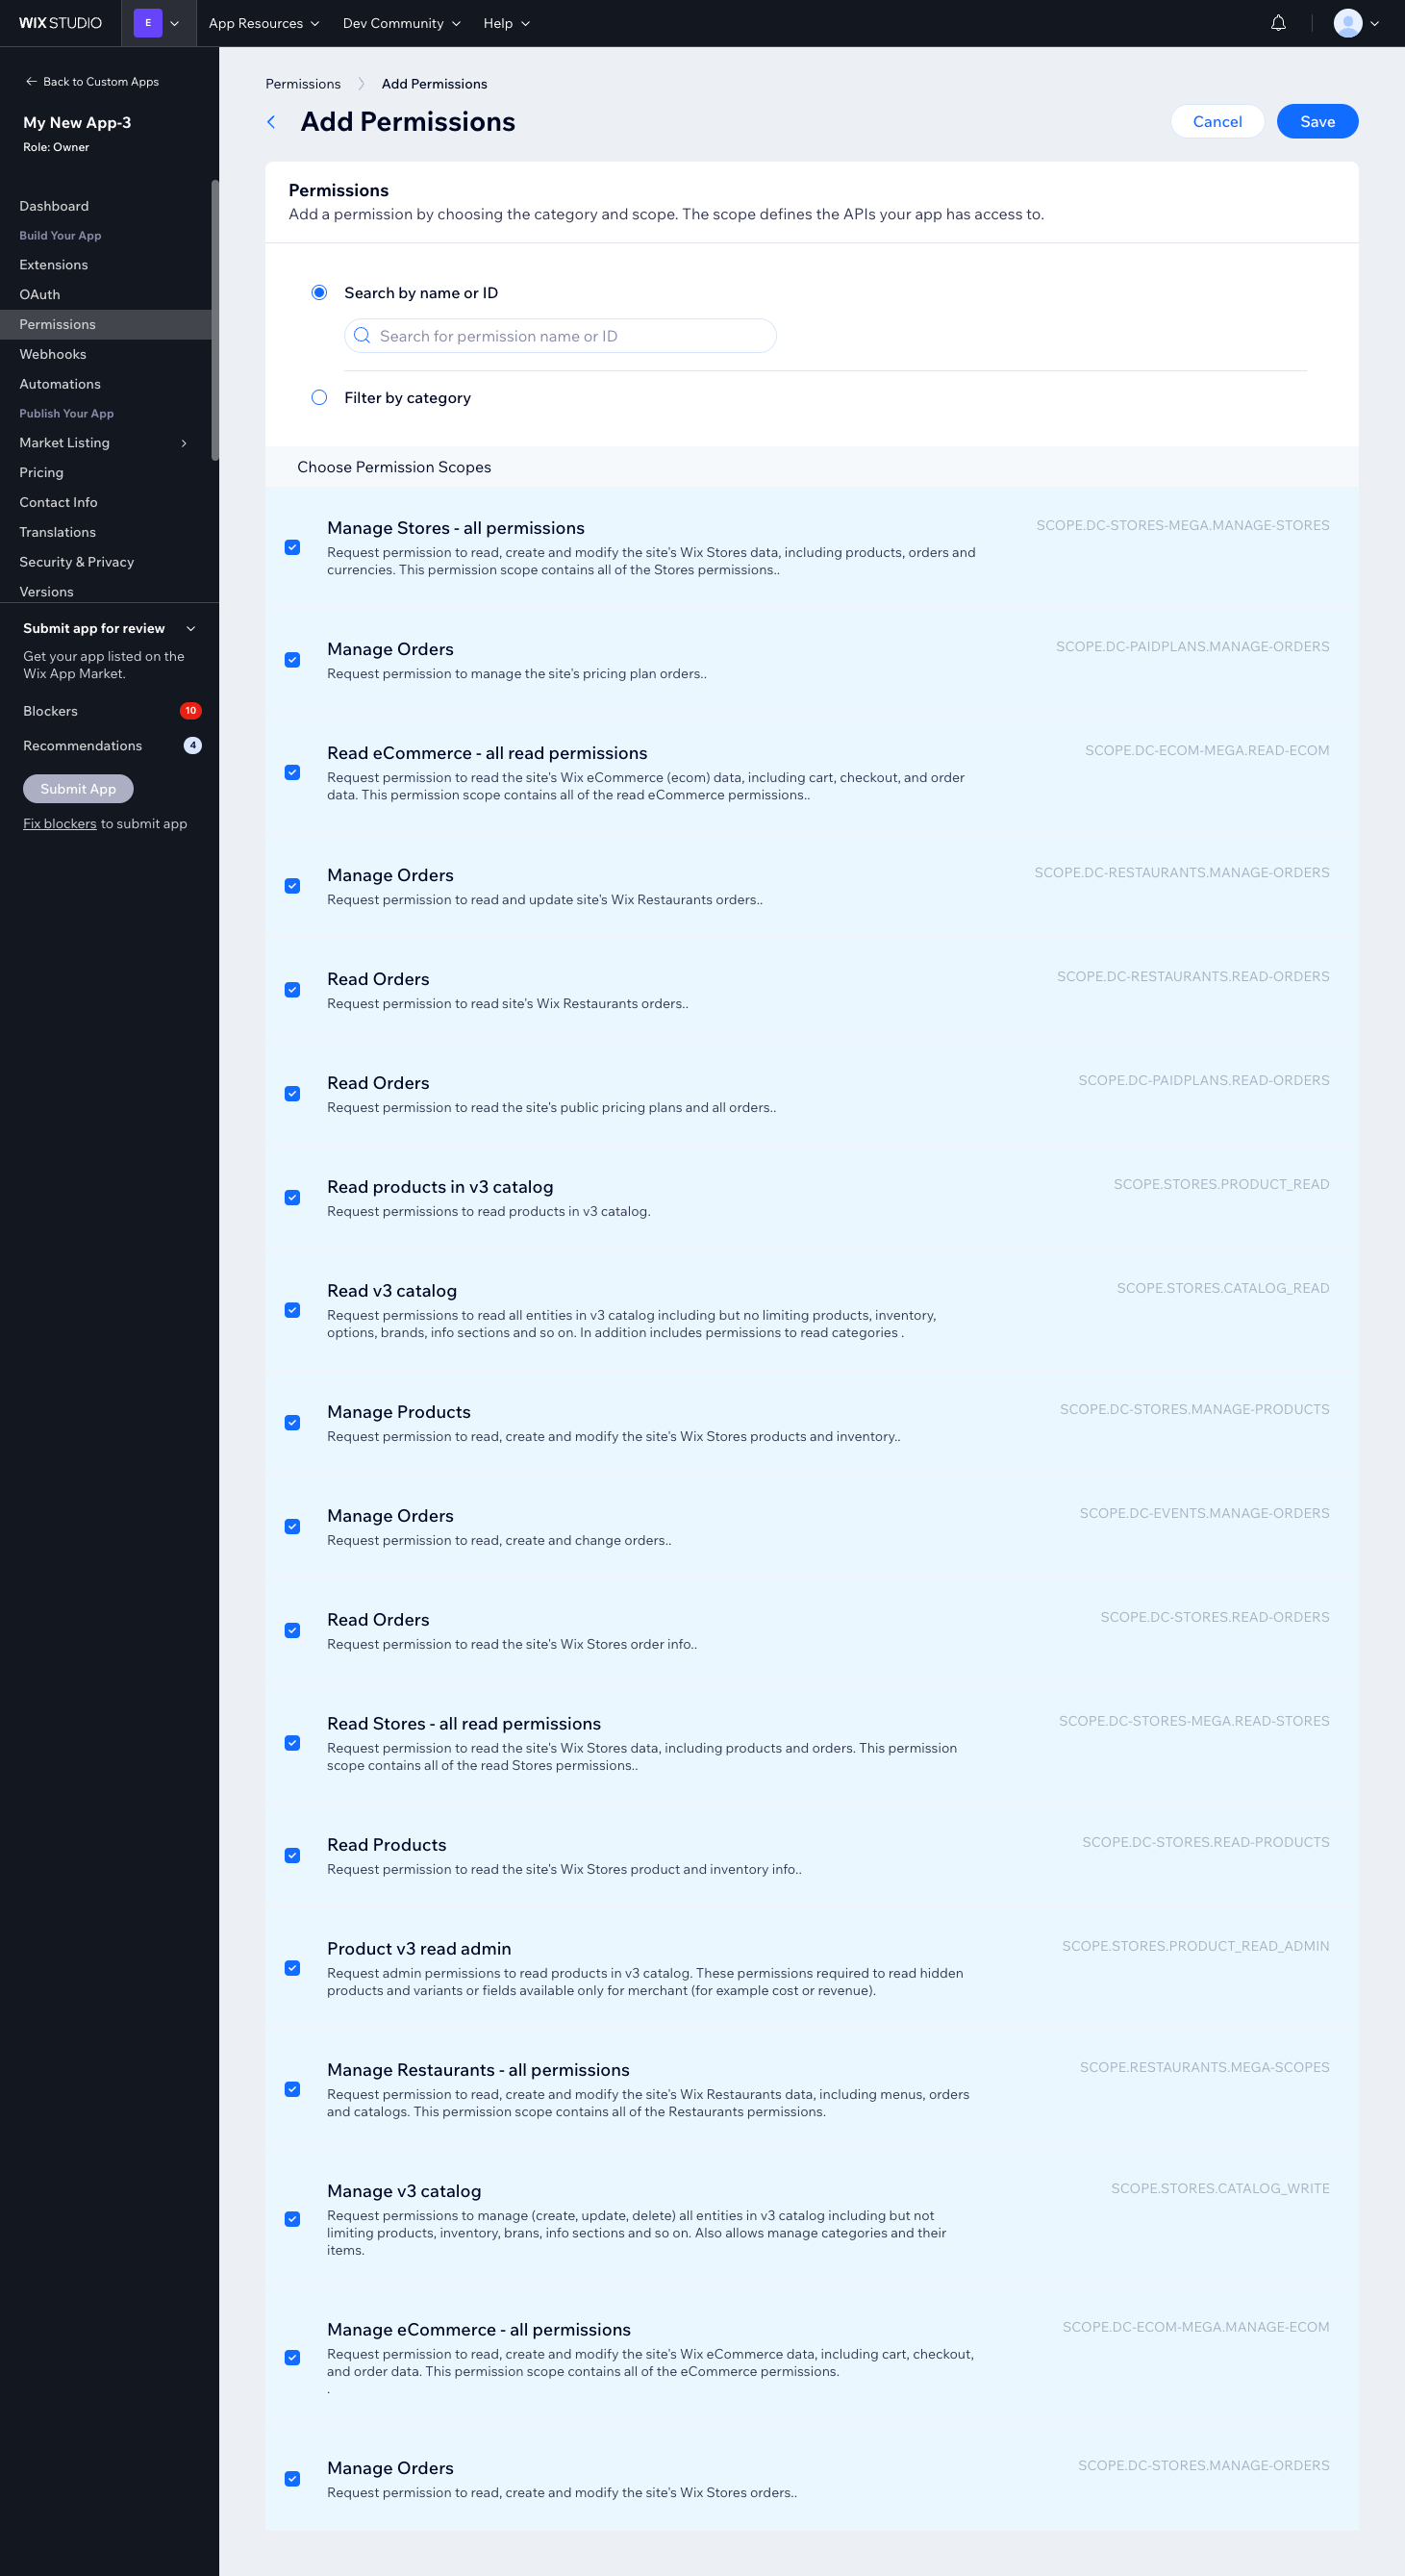
Click the Add Permissions button.
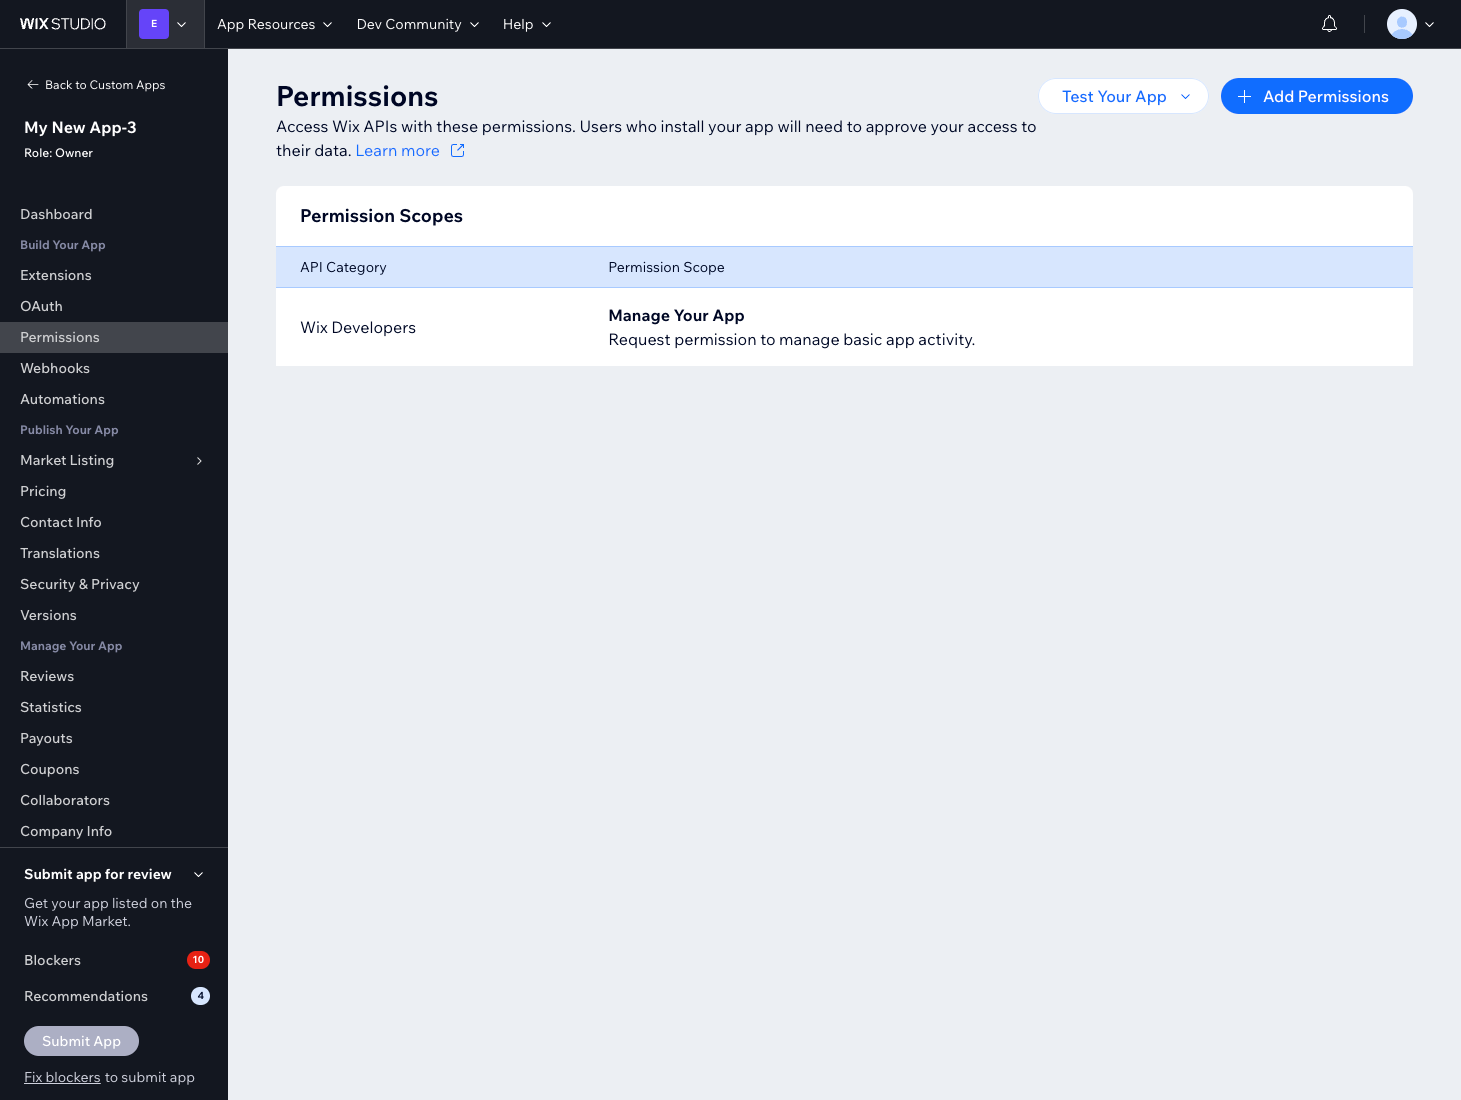
Click the image to maximise.
Search for each required permission and tick the corresponding checkboxes:
Manage Stores – all permissions
Read Stores – all read permissions
Manage Products
Read Products
Manage Orders
Read Orders
Manage Restaurants – all permissions
Manage eCommerce – all permissions
Read eCommerce – all read permissions
Read v3 Catalog
Manage v3 Catalog
Read Products in v3 Catalog
Product v3 Read Admin
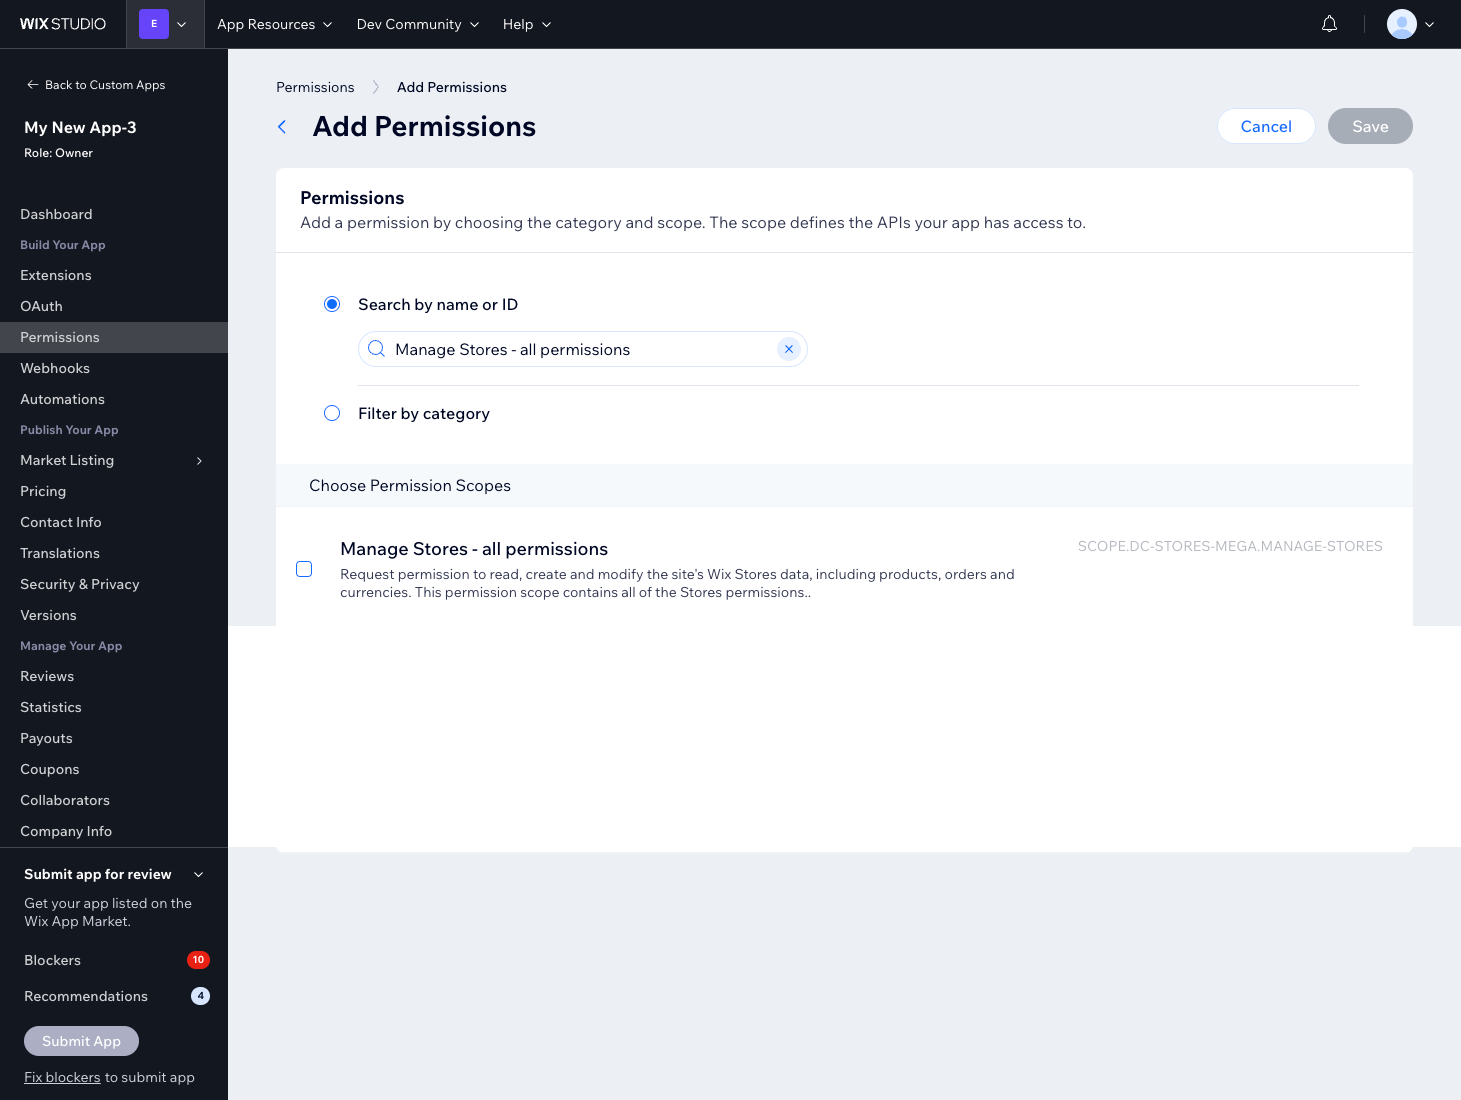
Click the image to maximise.
Ensure that all necessary permissions are selected, then click Save.
Click the image to maximise.
After saving, verify that the permissions appear under Permission Scopes.
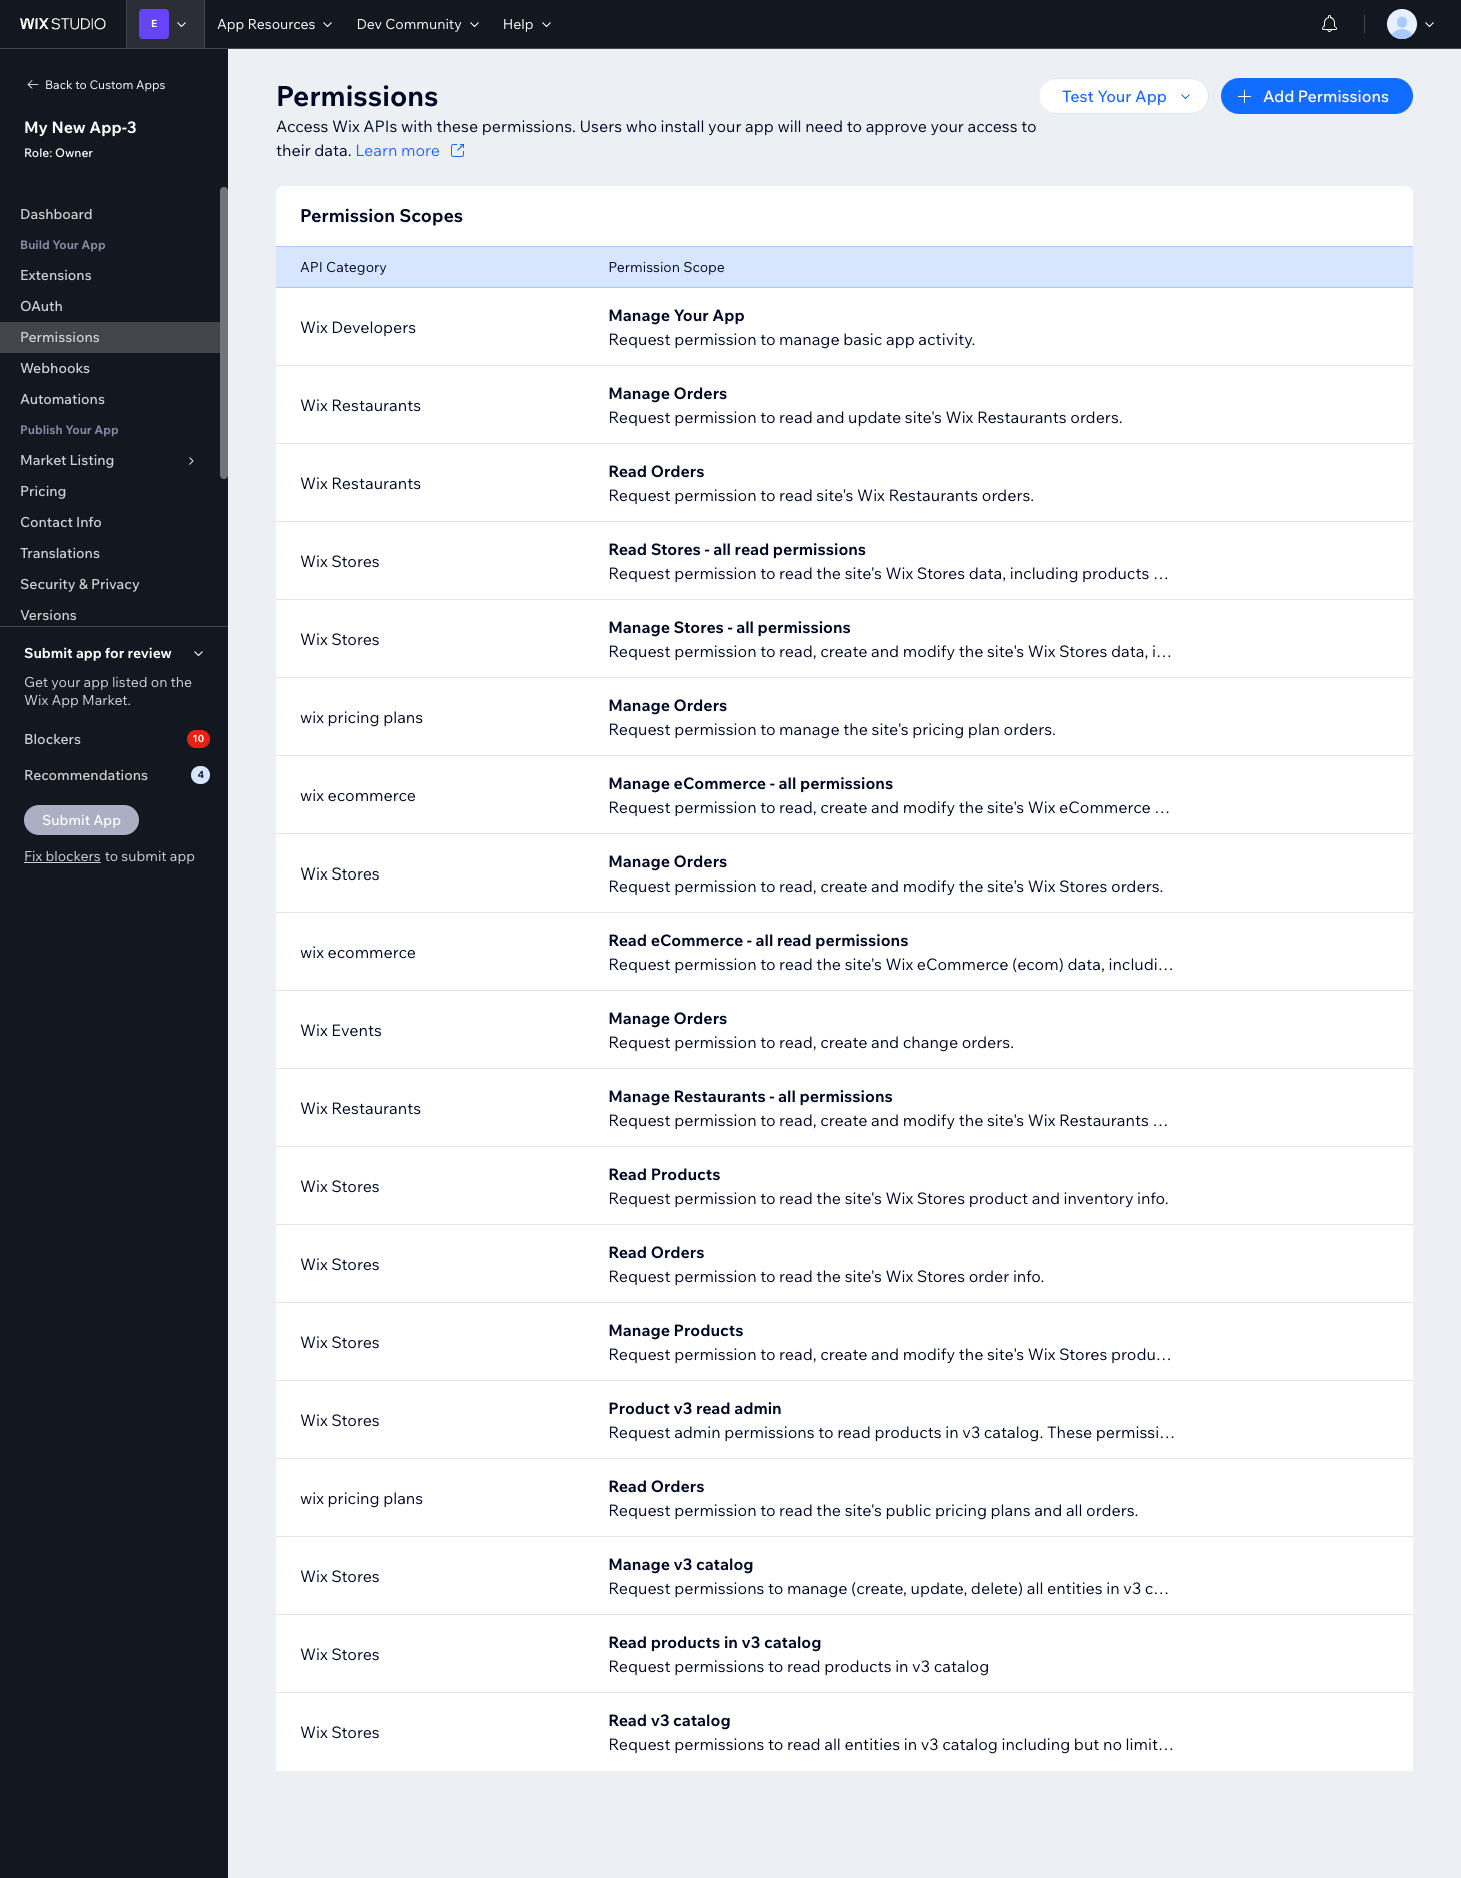
Click the image to maximise.

Configuring OAuth
Navigate to the OAuth tab in the side menu.
Enter the following URL in both the App URL and Redirect URL fields:
https://production.channelapi.co.uk/authorization/wixClick Save.
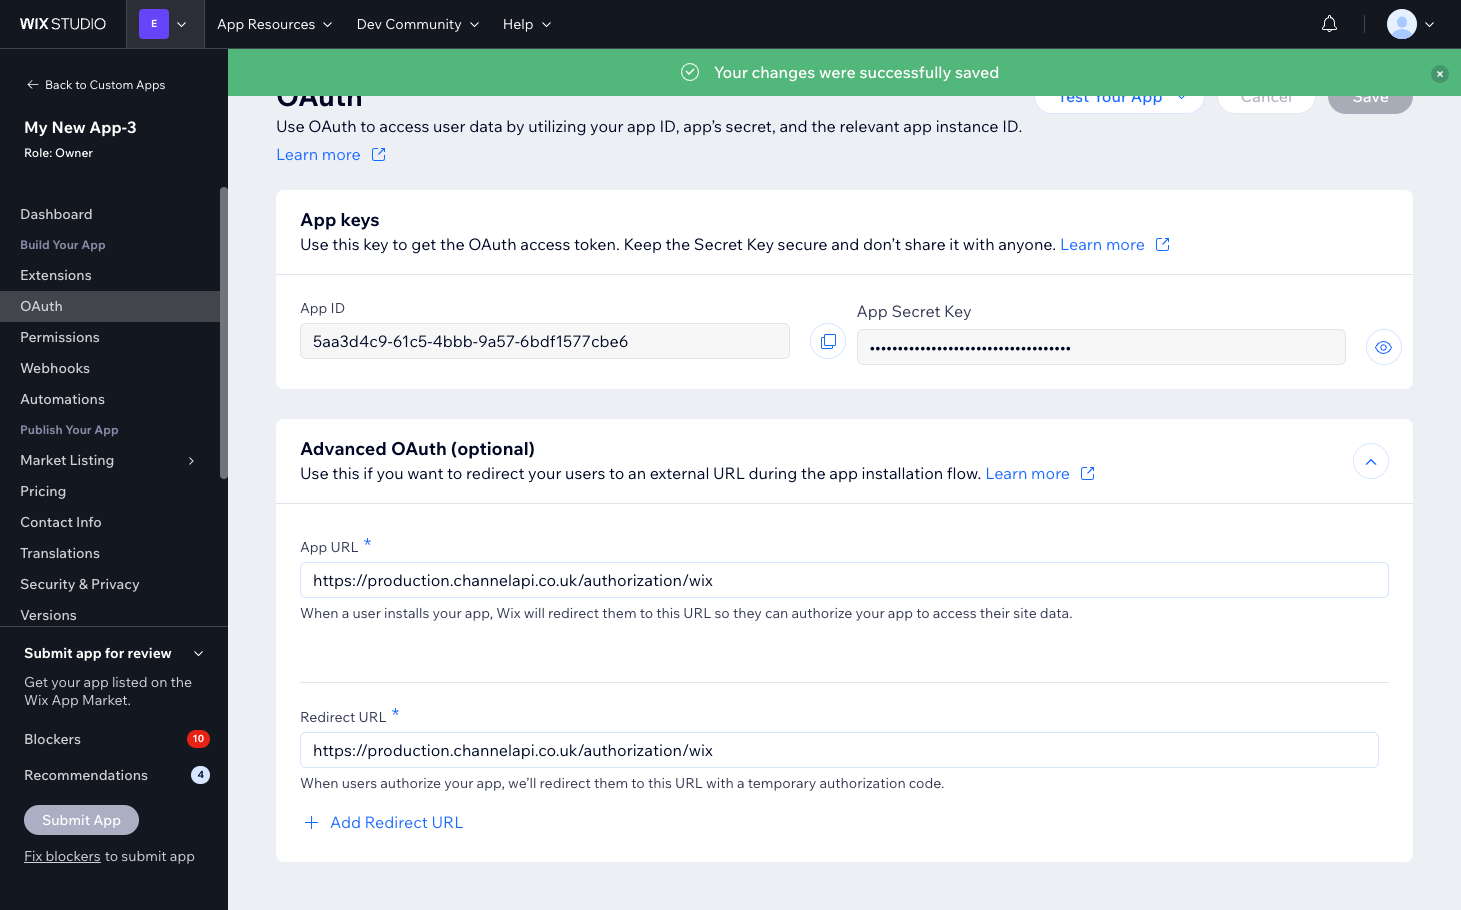
Click the image to maximise.

Connecting Wix to Neuro
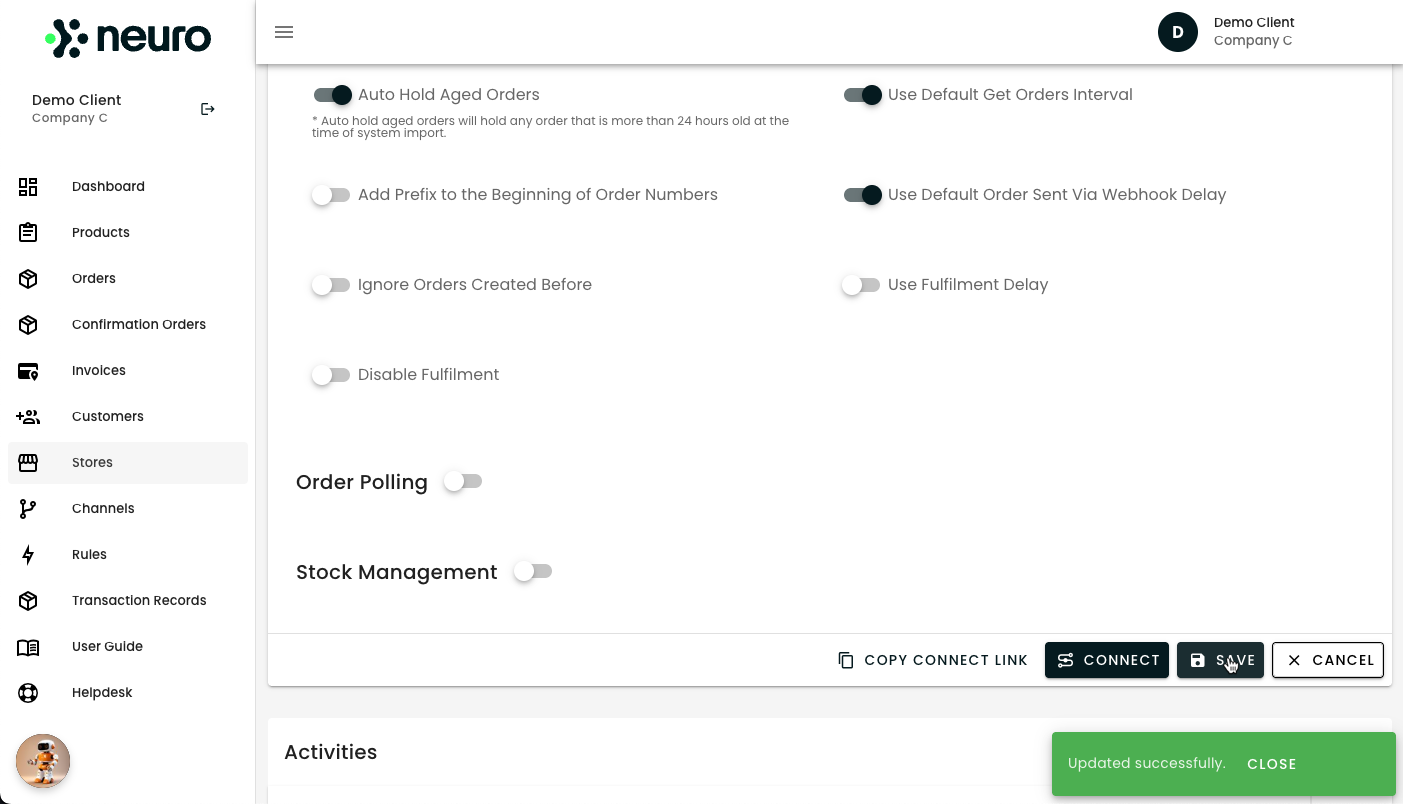
Go to your Wix Channel settings page in Neuro.
Click Copy Connection Link and open the link in a new browser tab.
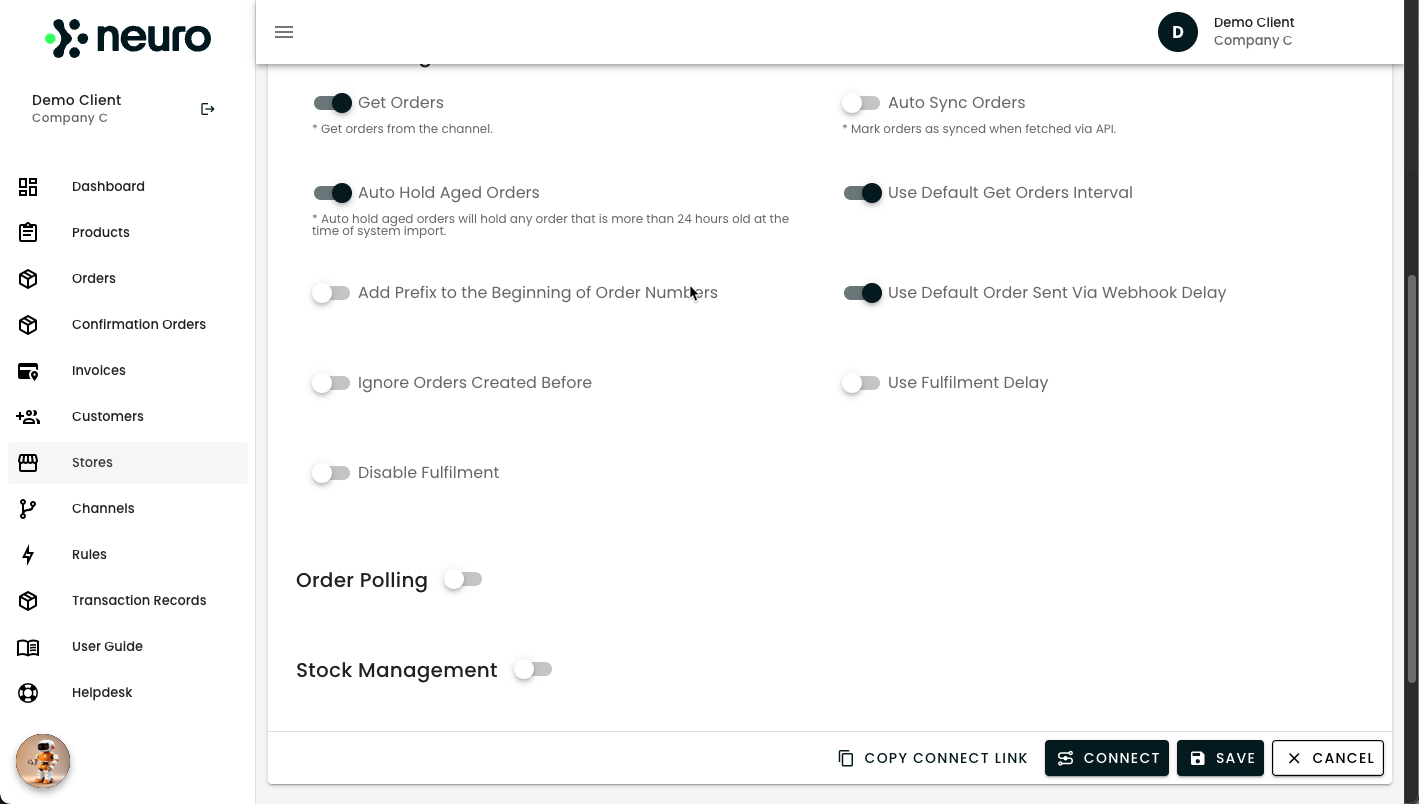
Click the image to maximise.
If you have multiple sites, select the site from which you wish to retrieve orders.
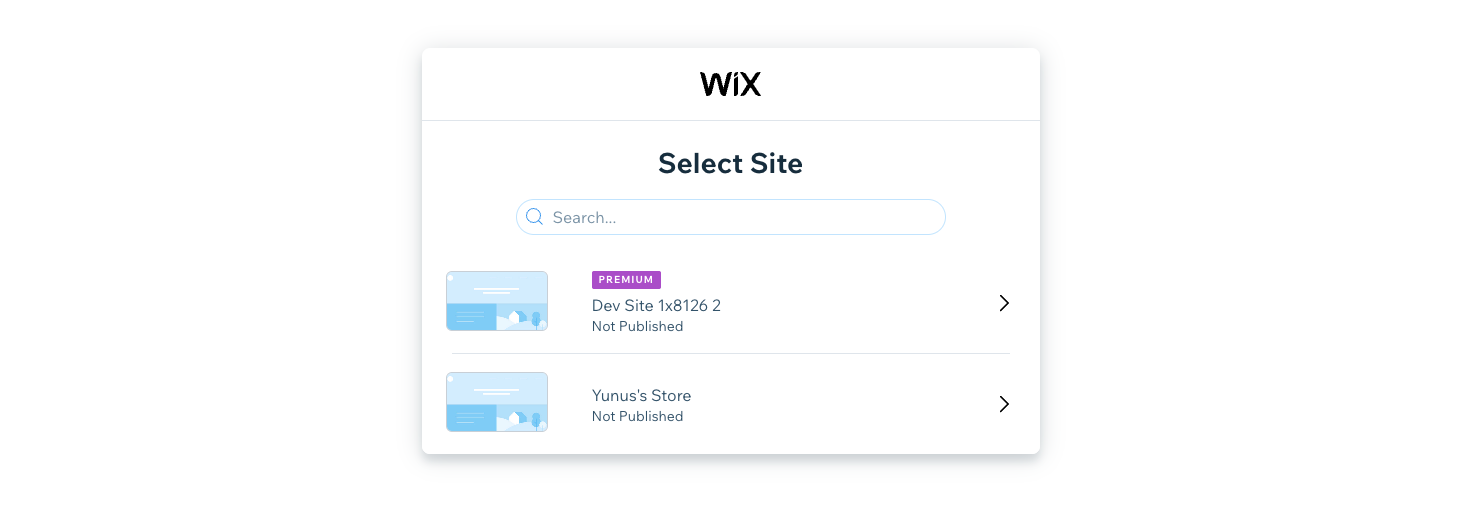
Click the image to maximise.
Tick the checkbox By Installing this third-party app, I agree to all of the above.
Click Agree & Add.
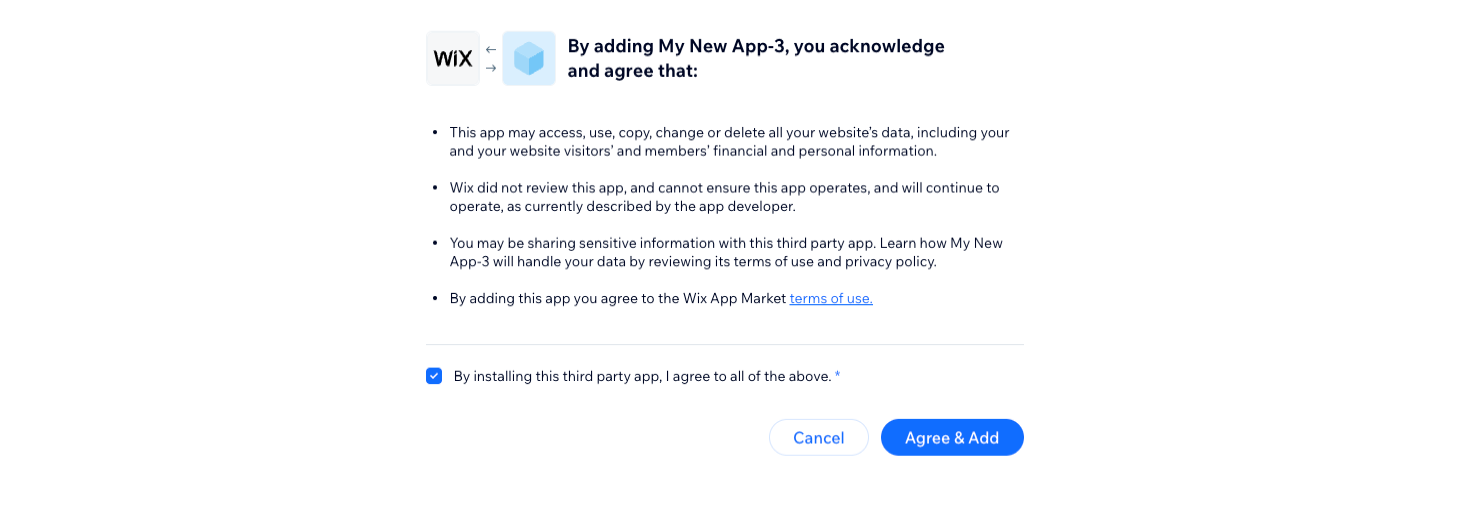
Click the image to maximise.
Click Continue to finalise the integration.
Click the image to maximise.
Congrats! Your Wix store is now successfully connected to Neuro.

By following these streamlined steps, you can leverage Neuro's powerful integrations to automate your business operations and enhance your efficiency across multiple sales channels and platforms.
Need help? Explore more of our documentation, or contact support.